DragScript Other Elements
In addition to the primary DragScript Actions, which do things like slewing the mount and running a sequence, DragScript elements can control other observatory functions, such as Starkeeper.it's companion product, Viking, which monitors and controls observatory I/O devices. Custom observatory control elements are also listed here, but they will not be of general interest.
Viking
These elements send commands to Voyager's companion product, Viking. Viking monitors and controls I/O devices in the observatory.
For more information on Viking, visit https://voyagerastro.com/products/viking
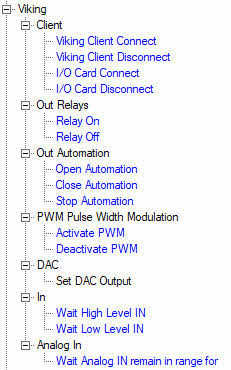
Viking Client
These commands connect to Viking and to Viking I/O cards. Refer to Viking Setup for further information on configuring Voyager to communicate with Viking.
- Viking Client Connect: Connect to the Viking software
- Client ID: Select the client ID to use when communicating to Viking. Currently this is pre-selected to Client ID #1
- OK: Save the settings and close the window
- Cancel: Discard changes and close the window
- Viking Client Disconnect: Disconnect from the Viking software
- Client ID: Select the client ID to use when communicating to Viking. Currently this is pre-selected to Client ID #1
- OK: Save the settings and close the window
- Cancel: Discard changes and close the window
- I/O Card Connect: Connect to Viking's I/O card
- Client ID: Select the client ID to use when communicating to Viking. Currently this is pre-selected to Client ID #1
- OK: Save the settings and close the window
- Cancel: Discard changes and close the window
- I/O Card Disconnect: Disconnect from Viking's I/O card:
- Client ID: Select the client ID to use when communicating to Viking. Currently this is pre-selected to Client ID #1
- OK: Save the settings and close the window
- Cancel: Discard changes and close the window
Out Relays
Out Relay commands turn I/O relays connected to Viking on or off:
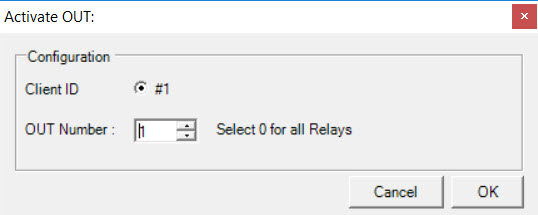
- Relay On: Command Viking to turn a relay on
- Client ID: Select the client ID to use when communicating to Viking. Currently this is pre-selected to Client ID #1
- OUT Number: Relay number to turn on. Enter 0 to turn on all the relays
- OK: Save the settings and close the window
- Cancel: Discard changes and close the window
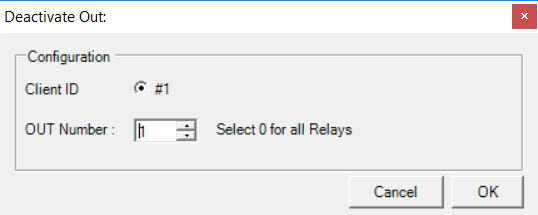
- Relay Off: Command Viking to turn a relay off
- Client ID: Select the client ID to use when communicating to Viking. Currently this is pre-selected to Client ID #1
- OUT Number: Relay number to turn off. Enter 0 to turn off all the relays
- OK: Save the settings and close the window
- Cancel: Discard changes and close the window
Out Automation
Automation actions control I/O devices with three states: Open, Close and Stop. One piece of hardware that supports three states is the MyHome Bticino device https://www.bticino.com/solutions/home-automation/
The main use of this device is to control a motor that could be used, for example, to open or close a window shade, or stop it at a particular position. You may use this type of device in your observatory control to do something such as open and close a roll-off roof.
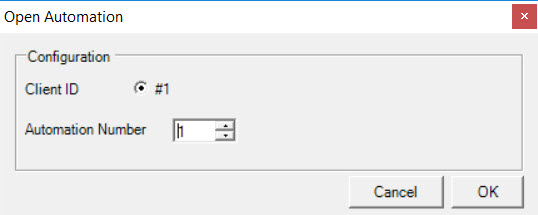
- Open Automation:
- Client ID: Select the client ID to use when communicating to Viking. Currently this is pre-selected to Client ID #1
- Automation Number: Number of automation device to open
- OK: Save the settings and close the window
- Cancel: Discard changes and close the window
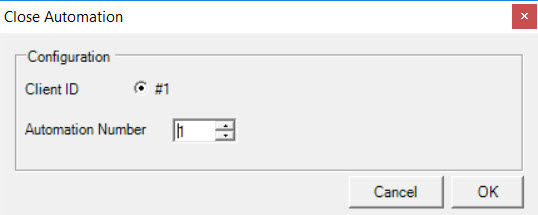
- Close Automation:
- Client ID: Select the client ID to use when communicating to Viking. Currently this is pre-selected to Client ID #1
- Automation Number: Number of automation device to close
- OK: Save the settings and close the window
- Cancel: Discard changes and close the window
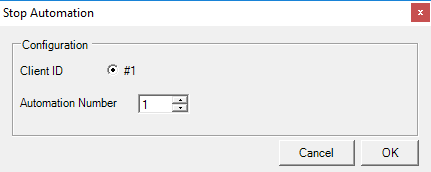
- Stop Automation: Stop the specified Viking automation's execution
- Client ID: Select the client ID to use when communicating to Viking. Currently this is pre-selected to Client ID #1
- Automation Number: Number of automation device to stop
- OK: Save the settings and close the window
- Cancel: Discard changes and close the window
PWM Pulse Width Modulation
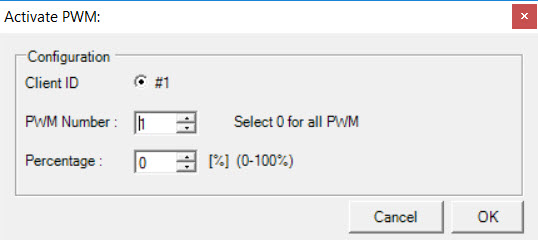
- Activate PWM: Set the value of a pulse width modulation device and activate it:
- Client ID: Select the client ID to use when communicating to Viking. Currently this is pre-selected to Client ID #1
- PwM Number: Enter the number of the PWM device to control. Enter 0 to send this command to all PWM devices
- Percentage: Set the PWM device to this level, specified as a percentage from 0-100%
- OK: Save the settings and close the window
- Cancel: Discard changes and close the window
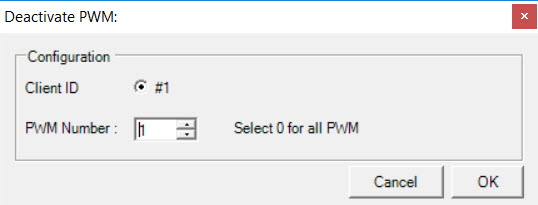
- Deactivate PWM: Deactivate a pulse width modulation device:
- Client ID: Select the client ID to use when communicating to Viking. Currently this is pre-selected to Client ID #1
- PwM Number: Enter the number of the PWM device to deactivate. Enter 0 to send this command to all PWM devices
- OK: Save the settings and close the window
- Cancel: Discard changes and close the window
DAC
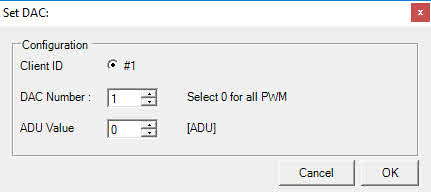
This action is the setup for the DAC output to Viking.
- Set DAC Output:
- Client ID: Select the client ID to use when communicating to Viking. Currently this is pre-selected to Client ID #1
- DAC Number: Enter the number of the DAC device to use. Enter 0 to send this command to all PWM devices
- ADU Value: Analog to Digital Unit conversion factor. E.g., if the DAC can output 5VDC max and ADU resolution is 1024 ADU, 512 ADU is 2.5VDC
- OK: Save the settings and close the window
- Cancel: Discard changes and close the window
In
These actions monitor inputs to Viking.
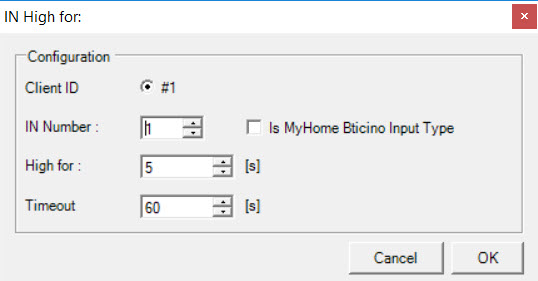
- Wait High Level IN: Wait until the specified Viking input remains at a high level for the given amount of time:
- Client ID: Select the client ID to use when communicating to Viking. Currently this is pre-selected to Client ID #1
- IN Number: IN device to monitor for a high status
- Is MyHome Bticino Input Type: If checked, the input to monitor is a MyHome Bticino device https://www.bticino.com/solutions/home-automation/
- High for: Number of seconds for the device to remain in a high state to exit the wait
- Timeout: Number of seconds to wait before timing out the wait
- OK: Save the settings and close the window
- Cancel: Discard changes and close the window
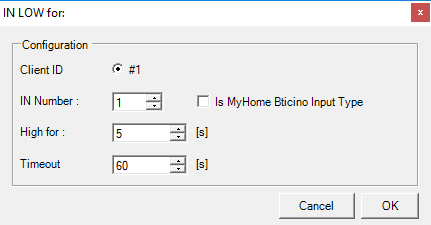
- Wait Low Level IN: Wait until the specified Viking input remains at a low level for the given amount of time:
- Client ID: Select the client ID to use when communicating to Viking. Currently this is pre-selected to Client ID #1
- IN Number: IN device to monitor for a low status
- Is MyHome Bticino Input Type: If checked, the input to monitor is a MyHome Bticino device https://www.bticino.com/solutions/home-automation/
- Low for: Number of seconds for the device to remain in a Low state to exit the wait (TYPO: Field label should be "Low for:")
- Timeout: Number of seconds to wait before timing out the wait
- OK: Save the settings and close the window
- Cancel: Discard changes and close the window
Analog In
Analog In actions monitor analog input values to Viking.
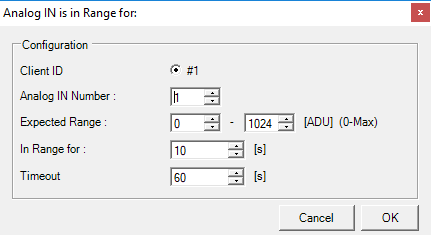
- Wait Analog IN remain in range for: Wait until an analog input to Viking remains within the given range for the specified time:
- Client ID: Select the client ID to use when communicating to Viking. Currently this is pre-selected to Client ID #1
- Analog IN Number: Analog IN device to monitor
- Expected Range: Specify the minimum and maximum values of the desired range
- In Range for: Amount of time in seconds the monitored Analog IN value must remain within the Expected Range for the wait to end
- Timeout: Number of seconds to wait before timing out the wait
- OK: Save the settings and close the window
- Cancel: Discard changes and close the window
Custom Array Observatory
Custom Array Observatory control elements for manage Voyager array version.
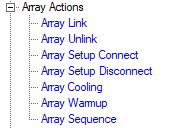
Array Actions
These commands manage multinode parallels actions for Array
- Custom Array Link: Link the Array establishing the communications between MASTER and SLAVE
- Custom Array Unlink: Unlink the Array closing the communications between MASTER and SLAVE
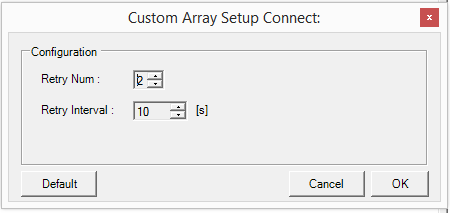
- Custom Array Setup Connect: Connect setup of each nodes in a parallelized way
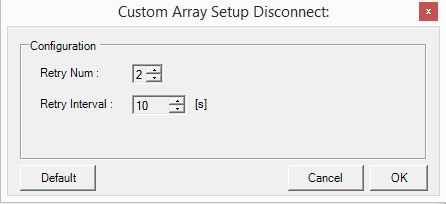
- Custom Array Disconnect: Disconnect setup of each nodes in a parallelized way
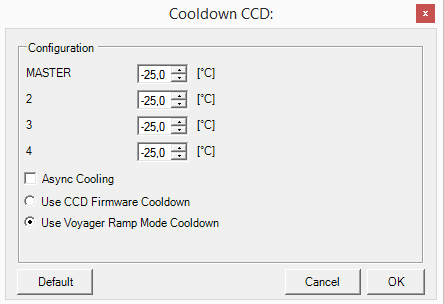
- Custom Array Cooling: Cooling CCD camera of each nodes in a parallelized way
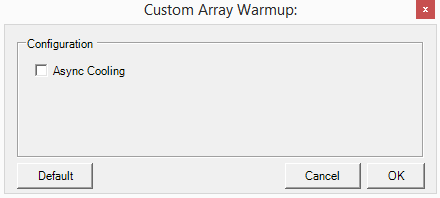
- Custom Array Warmup: Warmup CCD camera of each nodes in a parallelized way
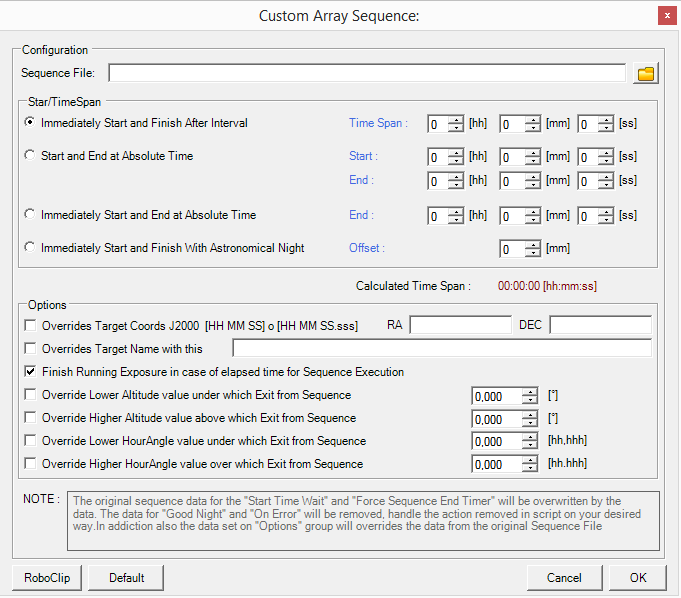
- Custom Array Sequence: Run a Custom Array Sequence on the array
Node Actions
These commands manage single node actions for Array
