DragScript Other Elements
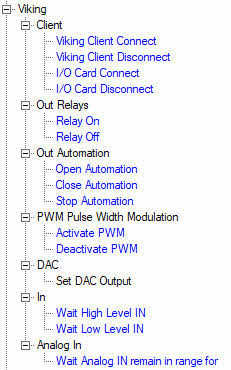
In addition to the primary DragScript Actions, which do things like slewing the mount and running a sequence, DragScript elements can control other observatory functions, such as Starkeeper.it's companion product, Viking, which monitors and controls observatory I/O devices. Custom observatory control elements are also listed here, but they will not be of general interest.
Viking
These elements send commands to Voyager's companion product, Viking. Viking monitors and controls I/O devices in the observatory.
For more information on Viking, visit https://voyagerastro.com/products/viking
Viking Client
These commands connect to Viking and to Viking I/O cards. Refer to Viking Setup for further information on configuring Voyager to communicate with Viking.
- Viking Client Connect: Connect to the Viking software
- Client ID: Select the client ID to use when communicating to Viking. Currently this is pre-selected to Client ID #1
- OK: Save the settings and close the window
- Cancel: Discard changes and close the window
- Viking Client Disconnect: Disconnect from the Viking software
- Client ID: Select the client ID to use when communicating to Viking. Currently this is pre-selected to Client ID #1
- OK: Save the settings and close the window
- Cancel: Discard changes and close the window
- I/O Card Connect: Connect to Viking's I/O card
- Client ID: Select the client ID to use when communicating to Viking. Currently this is pre-selected to Client ID #1
- OK: Save the settings and close the window
- Cancel: Discard changes and close the window
- I/O Card Disconnect: Disconnect from Viking's I/O card:
- Client ID: Select the client ID to use when communicating to Viking. Currently this is pre-selected to Client ID #1
- OK: Save the settings and close the window
- Cancel: Discard changes and close the window
Out Relays
Out Relay commands turn I/O relays connected to Viking on or off:
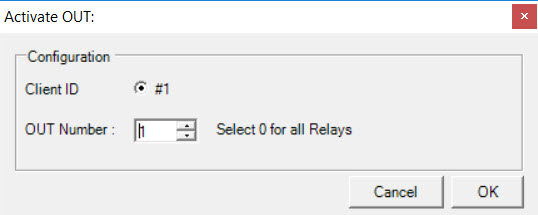
- Relay On: Command Viking to turn a relay on
- Client ID: Select the client ID to use when communicating to Viking. Currently this is pre-selected to Client ID #1
- OUT Number: Relay number to turn on. Enter 0 to turn on all the relays
- OK: Save the settings and close the window
- Cancel: Discard changes and close the window
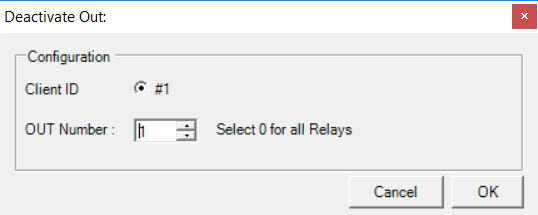
- Relay Off: Command Viking to turn a relay off
- Client ID: Select the client ID to use when communicating to Viking. Currently this is pre-selected to Client ID #1
- OUT Number: Relay number to turn off. Enter 0 to turn off all the relays
- OK: Save the settings and close the window
- Cancel: Discard changes and close the window
Out Automation
Automation actions control I/O devices with three states: Open, Close and Stop. One piece of hardware that supports three states is the MyHome Bticino device https://www.bticino.com/solutions/home-automation/
The main use of this device is to control a motor that could be used, for example, to open or close a window shade, or stop it at a particular position. You may use this type of device in your observatory control to do something such as open and close a roll-off roof.
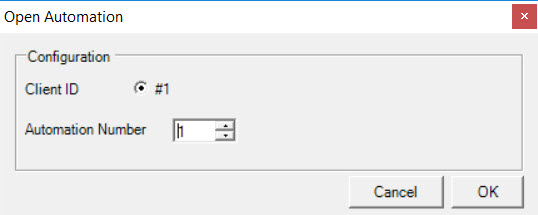
- Open Automation:
- Client ID: Select the client ID to use when communicating to Viking. Currently this is pre-selected to Client ID #1
- Automation Number: Number of automation device to open
- OK: Save the settings and close the window
- Cancel: Discard changes and close the window
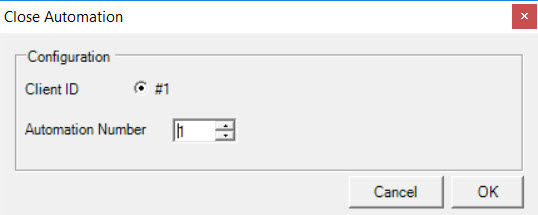
- Close Automation:
- Client ID: Select the client ID to use when communicating to Viking. Currently this is pre-selected to Client ID #1
- Automation Number: Number of automation device to close
- OK: Save the settings and close the window
- Cancel: Discard changes and close the window
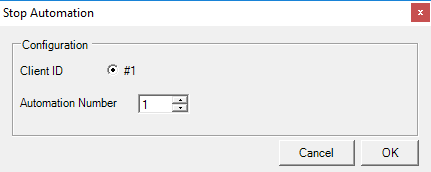
- Stop Automation: Stop the specified Viking automation's execution
- Client ID: Select the client ID to use when communicating to Viking. Currently this is pre-selected to Client ID #1
- Automation Number: Number of automation device to stop
- OK: Save the settings and close the window
- Cancel: Discard changes and close the window
PWM Pulse Width Modulation
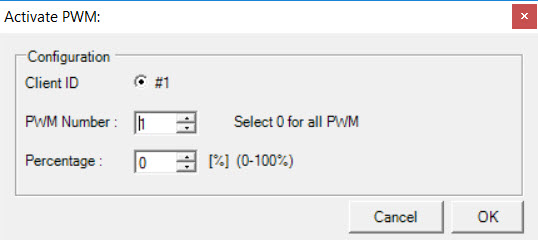
- Activate PWM: Set the value of a pulse width modulation device and activate it:
- Client ID: Select the client ID to use when communicating to Viking. Currently this is pre-selected to Client ID #1
- PwM Number: Enter the number of the PWM device to control. Enter 0 to send this command to all PWM devices
- Percentage: Set the PWM device to this level, specified as a percentage from 0-100%
- OK: Save the settings and close the window
- Cancel: Discard changes and close the window
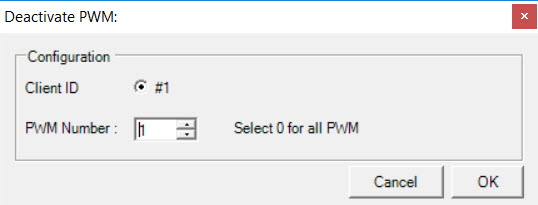
- Deactivate PWM: Deactivate a pulse width modulation device:
- Client ID: Select the client ID to use when communicating to Viking. Currently this is pre-selected to Client ID #1
- PwM Number: Enter the number of the PWM device to deactivate. Enter 0 to send this command to all PWM devices
- OK: Save the settings and close the window
- Cancel: Discard changes and close the window
DAC
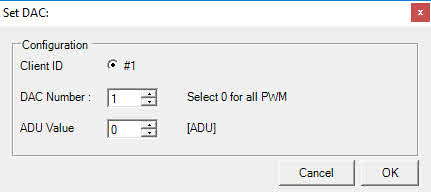
This action is the setup for the DAC output to Viking.
- Set DAC Output:
- Client ID: Select the client ID to use when communicating to Viking. Currently this is pre-selected to Client ID #1
- DAC Number: Enter the number of the DAC device to use. Enter 0 to send this command to all PWM devices
- ADU Value: Analog to Digital Unit conversion factor. E.g., if the DAC can output 5VDC max and ADU resolution is 1024 ADU, 512 ADU is 2.5VDC
- OK: Save the settings and close the window
- Cancel: Discard changes and close the window
In
These actions monitor inputs to Viking.
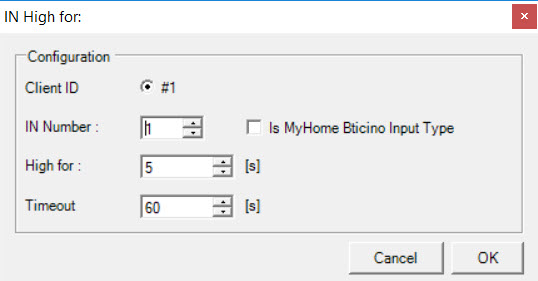
- Wait High Level IN: Wait until the specified Viking input remains at a high level for the given amount of time:
- Client ID: Select the client ID to use when communicating to Viking. Currently this is pre-selected to Client ID #1
- IN Number: IN device to monitor for a high status
- Is MyHome Bticino Input Type: If checked, the input to monitor is a MyHome Bticino device https://www.bticino.com/solutions/home-automation/
- High for: Number of seconds for the device to remain in a high state to exit the wait
- Timeout: Number of seconds to wait before timing out the wait
- OK: Save the settings and close the window
- Cancel: Discard changes and close the window
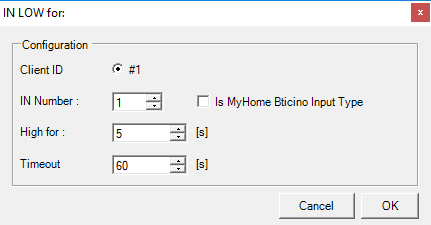
- Wait Low Level IN: Wait until the specified Viking input remains at a low level for the given amount of time:
- Client ID: Select the client ID to use when communicating to Viking. Currently this is pre-selected to Client ID #1
- IN Number: IN device to monitor for a low status
- Is MyHome Bticino Input Type: If checked, the input to monitor is a MyHome Bticino device https://www.bticino.com/solutions/home-automation/
- Low for: Number of seconds for the device to remain in a Low state to exit the wait (TYPO: Field label should be "Low for:")
- Timeout: Number of seconds to wait before timing out the wait
- OK: Save the settings and close the window
- Cancel: Discard changes and close the window
Analog In
Analog In actions monitor analog input values to Viking.
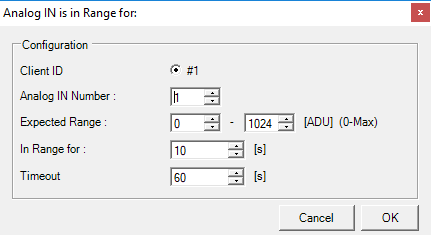
- Wait Analog IN remain in range for: Wait until an analog input to Viking remains within the given range for the specified time:
- Client ID: Select the client ID to use when communicating to Viking. Currently this is pre-selected to Client ID #1
- Analog IN Number: Analog IN device to monitor
- Expected Range: Specify the minimum and maximum values of the desired range
- In Range for: Amount of time in seconds the monitored Analog IN value must remain within the Expected Range for the wait to end
- Timeout: Number of seconds to wait before timing out the wait
- OK: Save the settings and close the window
- Cancel: Discard changes and close the window
Array Observatory
Custom Array Observatory control elements for manage Voyager array version.
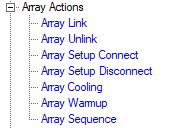
Array Actions
These commands manage multinode parallels actions for Array
- Array Link: Link the Array establishing the communications between MASTER and SLAVE
- Array Unlink: Unlink the Array closing the communications between MASTER and SLAVE
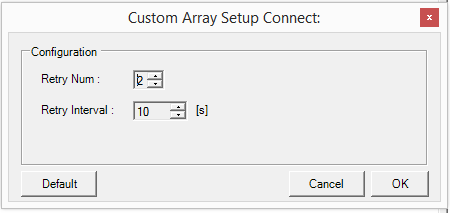
- Array Setup Connect: Connect setup of each nodes in a parallelized way
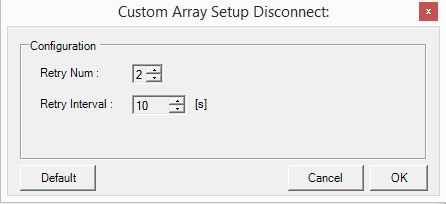
- Array Disconnect: Disconnect setup of each nodes in a parallelized way
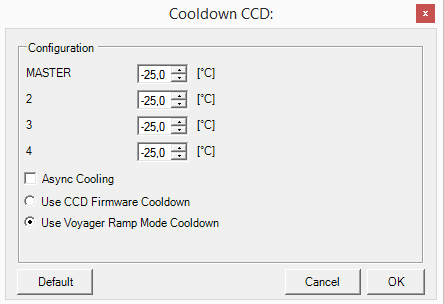
- Array Cooling: Cooling CCD camera of each nodes in a parallelized way
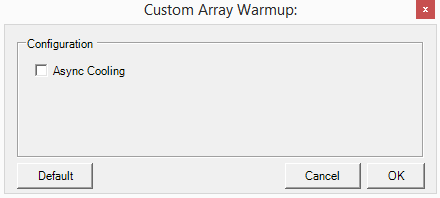
- Array Warmup: Warmup CCD camera of each nodes in a parallelized way
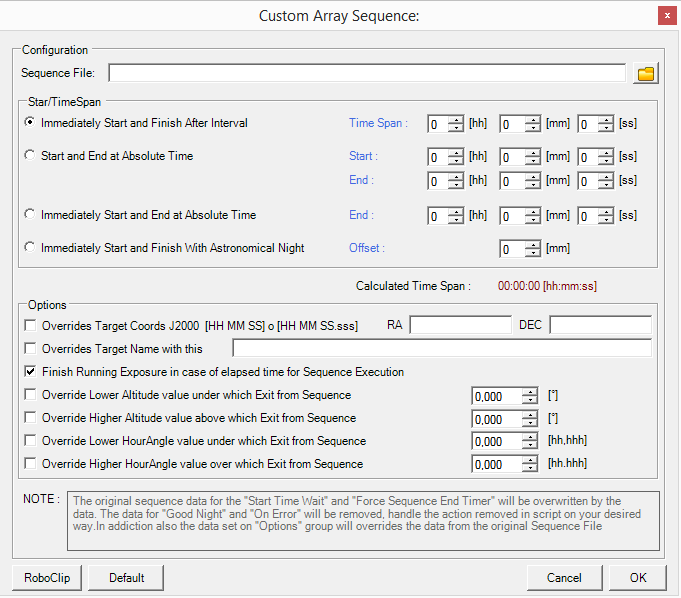
- Array Sequence: Run a Custom Array Sequence on the array
Node Actions
These commands manage single node actions for Array
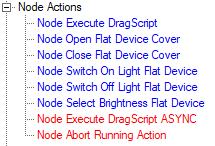
- Node Execute DragScript: Run a DragScript Self Contained with not interaction with DragScript Session WIndows in Voyager. In SLAVE nodes of the Array (not in MASTER). Action will wait the remote DragScript to end

- Node ID: ID of the SLAVE node where the DragScript will be executed
- DragScript Path&File: Path and Name or only Name of the DragScript to execute. If only name will be edited the dragscript will be searched in the default script directory of the Voyager SLAVE PC. If the field contains path and file name the specified path will be used, you must use the SLAVE PC path file system
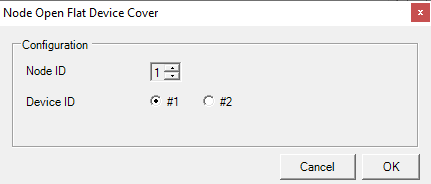
- Node Open Flat Device Cover: Open the Flat device cover on the Remote Array Node
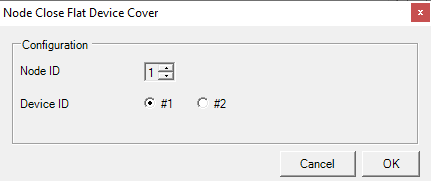
- Node Close Flat Device Cover: Close the Flat device cover on the Remote Array Node
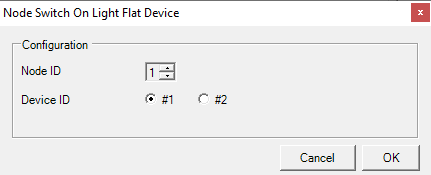
- Node Switch ON Light Flat Device: Switch ON Light of Flat device on the Remote Array Node
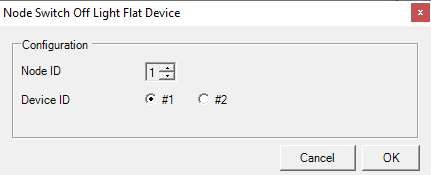
- Node Switch OFF Light Flat Device: Switch OFF Light of Flat device on the Remote Array Node
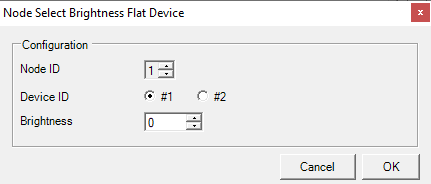
- Node Select Brightness Flat Device: Select Light Brightness level of Flat device on the Remote Array Node
- Node Execute DragScript ASYNC: Run a DragScript Self Contained with not interaction with DragScript Session WIndows in Voyager. In SLAVE nodes of the Array (not in MASTER). Action WILL NOT WAIT the remote DragScript to end
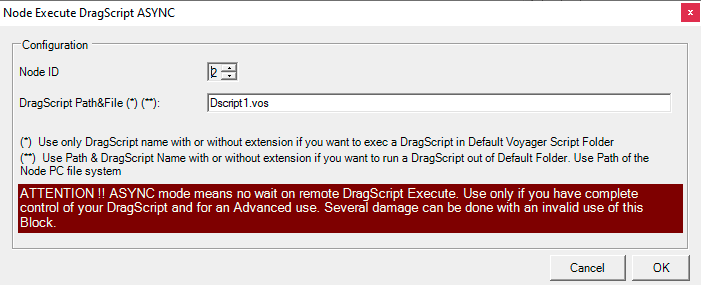
- Node ID: ID of the SLAVE node where the DragScript will be executed
- DragScript Path&File: Path and Name or only Name of the DragScript to execute. If only name will be edited the dragscript will be searched in the default script directory of the Voyager SLAVE PC. If the field contains path and file name the specified path will be used, you must use the SLAVE PC path file system
- Node Abort Running Action: Abort any running action in the remote Node indicated
